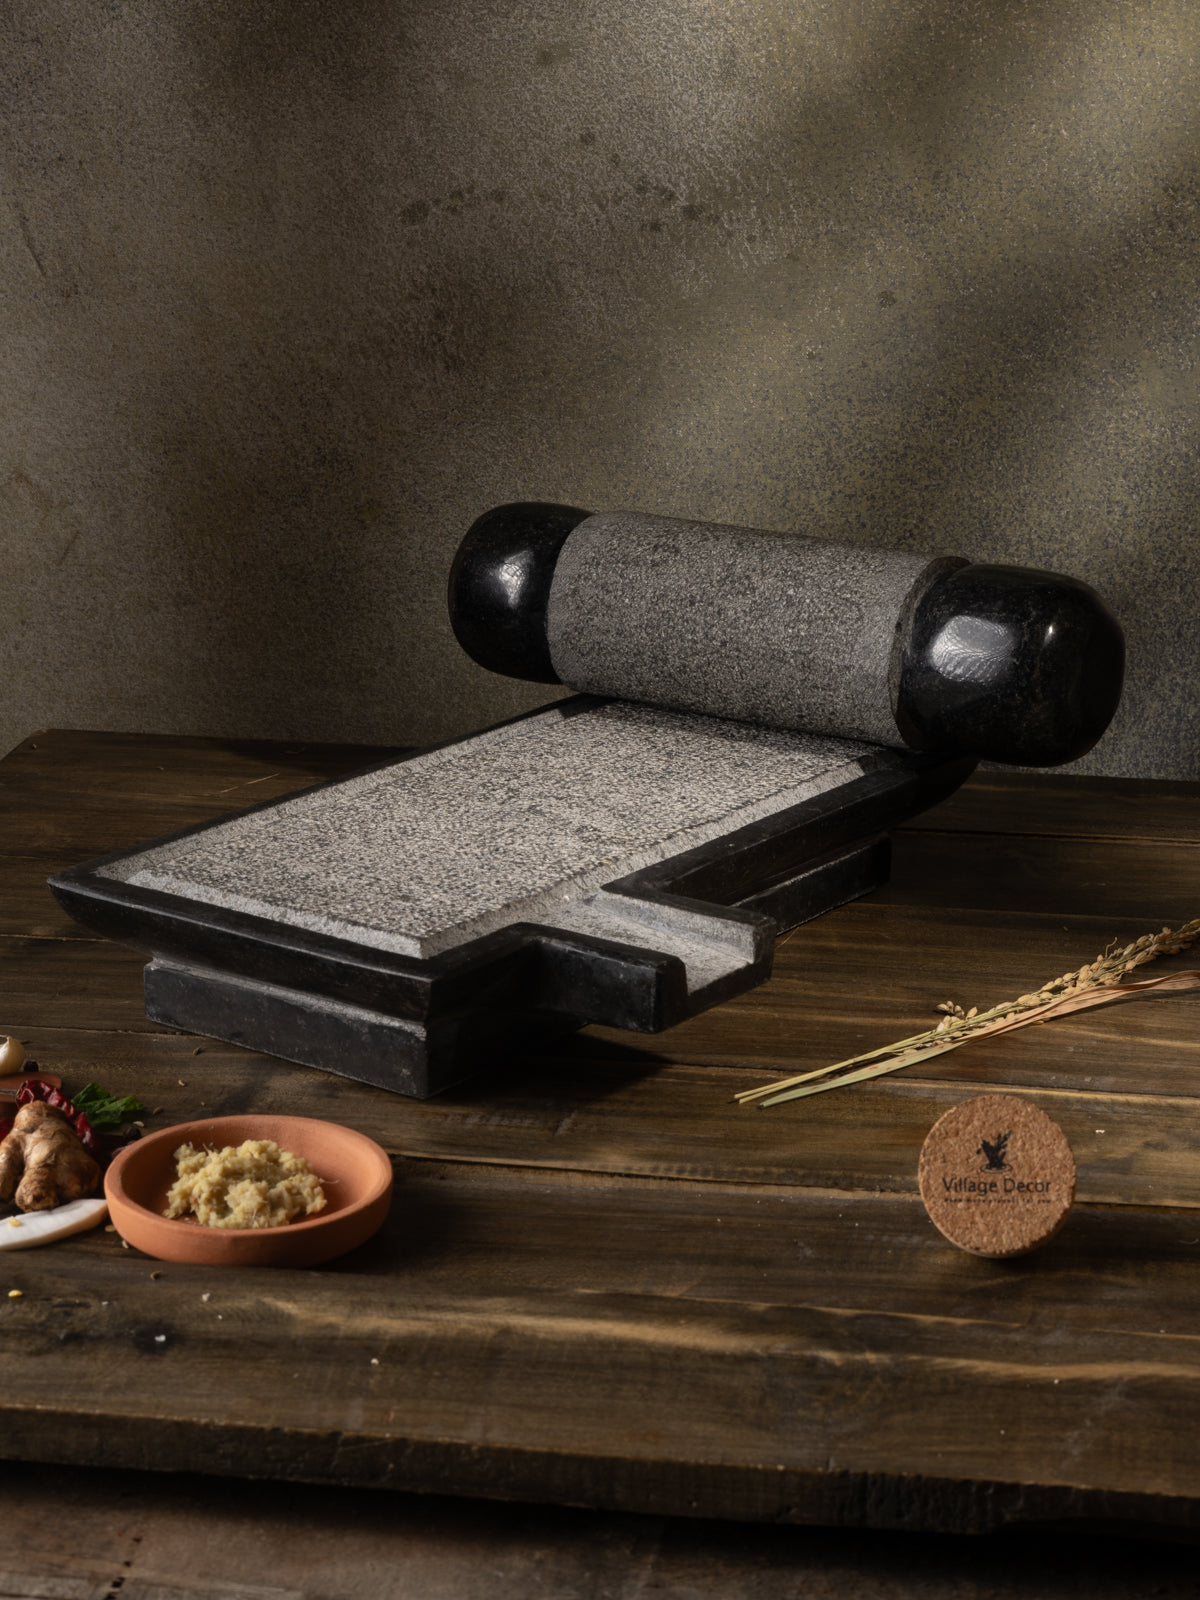
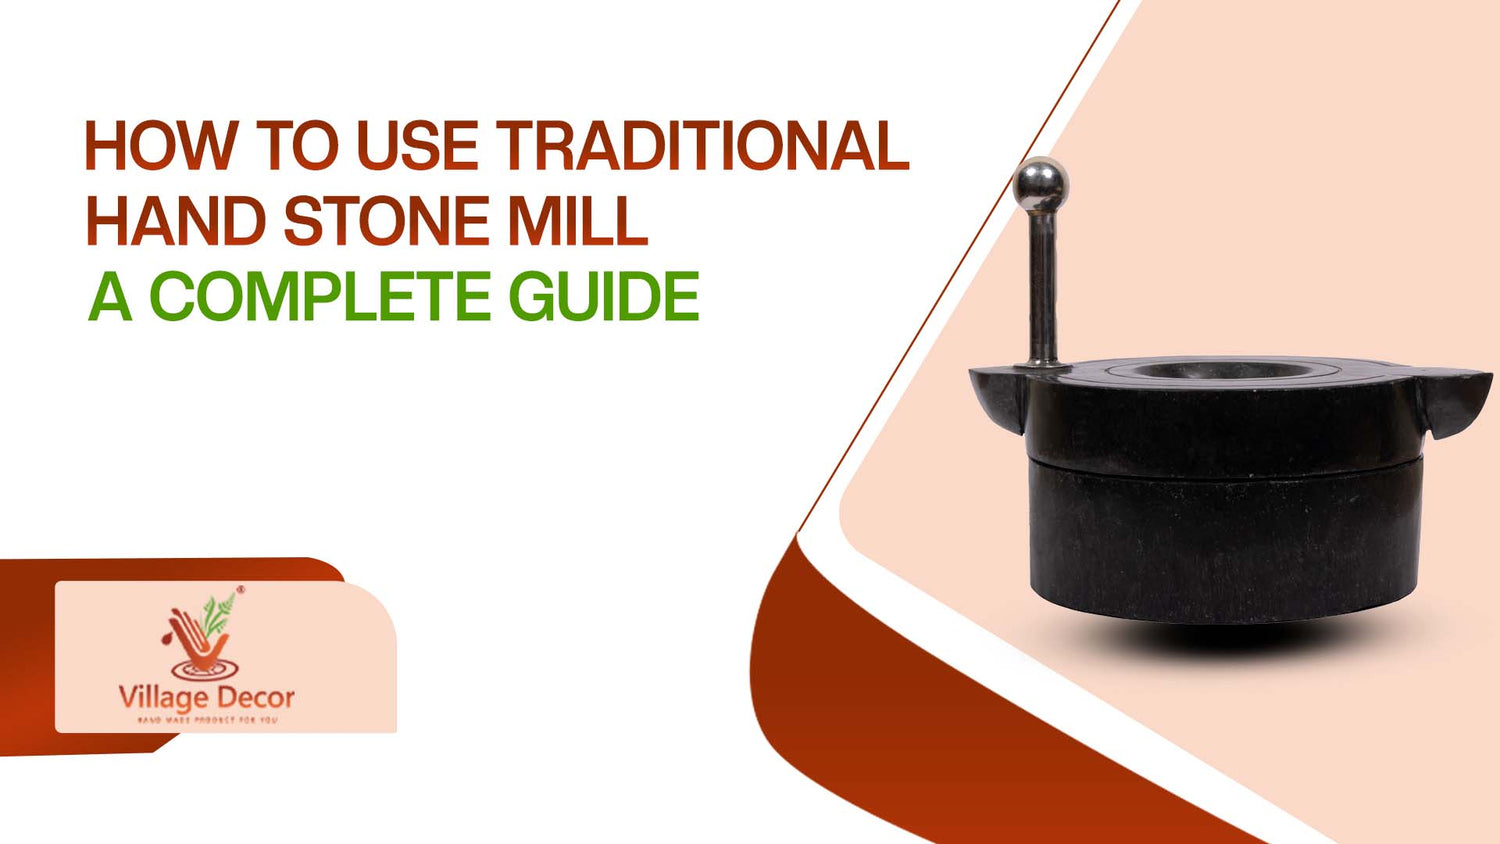
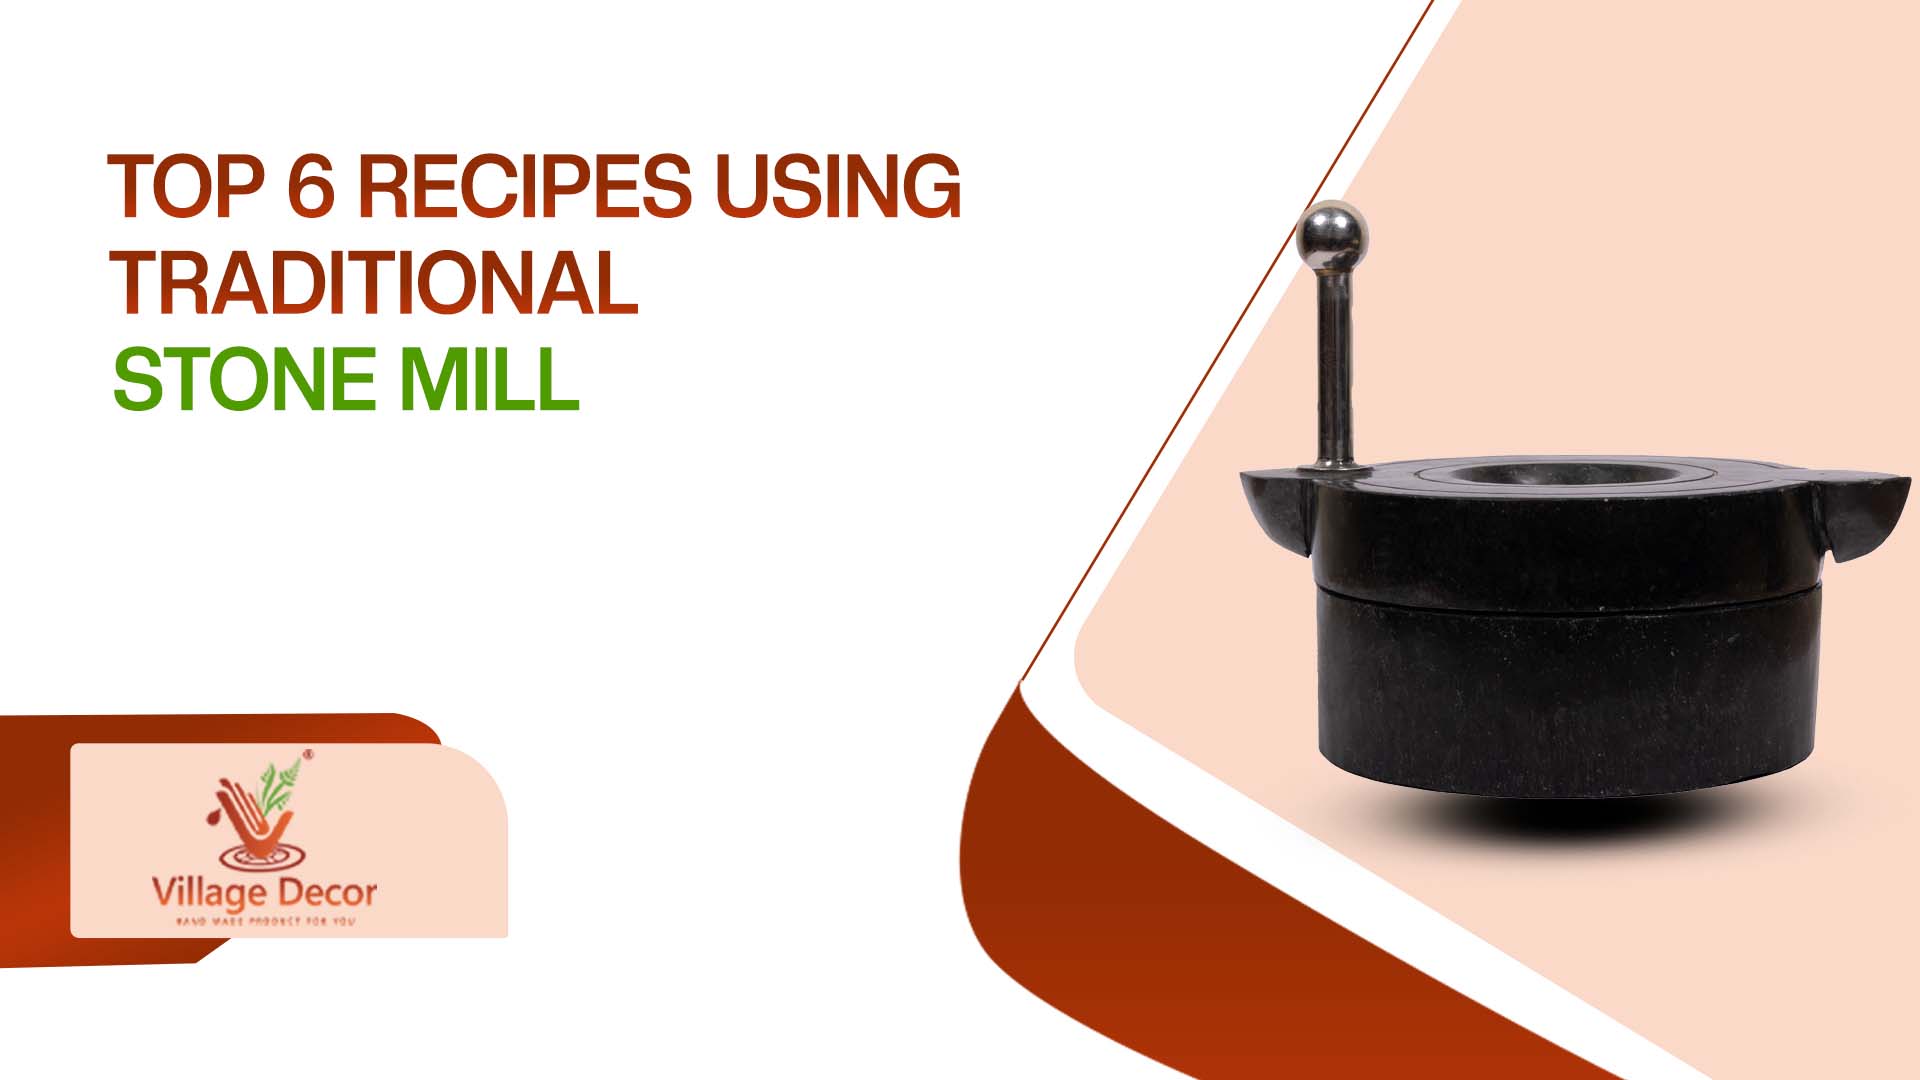
Using a traditional handmade stone mill is a cherished process that links us to our past. It supports a traditional cooking method that retains more natural nutrients without chemicals. A stone mill keeps more of the grain’s authentic flavor compared to electric mills.
Here’s a simple step-by-step guide to using a traditional stone mill:

STEP 1: Wash and Dry the Stone Mill
Begin by thoroughly washing the stone mill with water to remove any dirt, dust, or debris. After washing, dry the mill completely, either by placing it in direct sunlight for 5 to 10 minutes or wiping it with a dry cloth. This ensures a clean, moisture-free surface for the seasoning process.
STEP 2: Use mat and towel underneath the stone mill
Place the stone mill on a mat or towel to prevent it from shaking or moving around during the grinding process. This will help keep the mill stable and ensure a smoother operation.
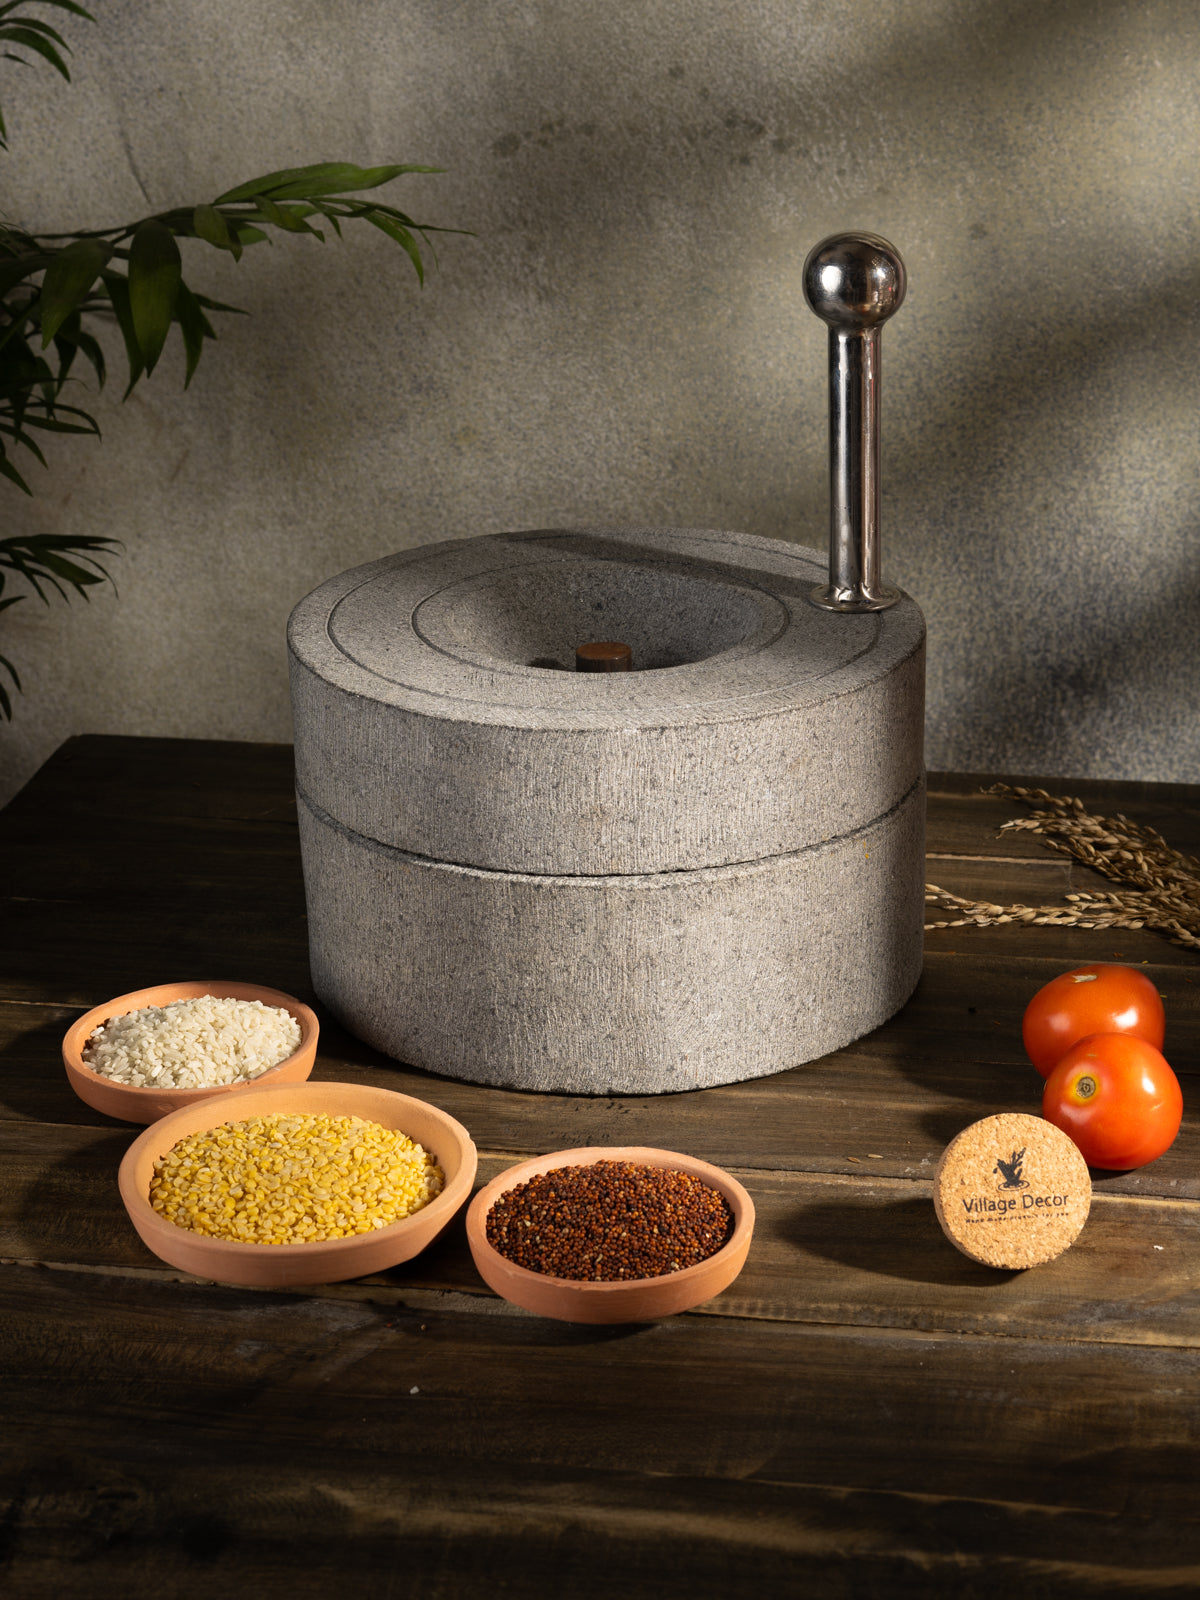
STEP 3: Pour the grains into the hopper and uplift the top stone slightly
Now, pour the grains into the hopper and then lift the top stone slightly to let the grains fall to the bottom stone.
STEP 4: Grind continuously
Then, grind the grains repeatedly until you reach the desired consistency in a circular motion using the stainless steel handle.
STEP 5: Sift the ground content using a sifter
Once you reach the desired consistency transfer the ground content into the sifter and sift them. Now, the ground content is ready to use.
STEP 6: clean and dry again
After using the stone mill, clean it well and ensure it is completely dry before storing it for future use.
Do you want to see the process in action?
By following these steps, you’ll be able to grind your own flour or meal, producing fresh and natural ingredients. Enjoy the process and the unique flavor of your homemade creations. Happy milling.





Leave a comment
This site is protected by hCaptcha and the hCaptcha Privacy Policy and Terms of Service apply.