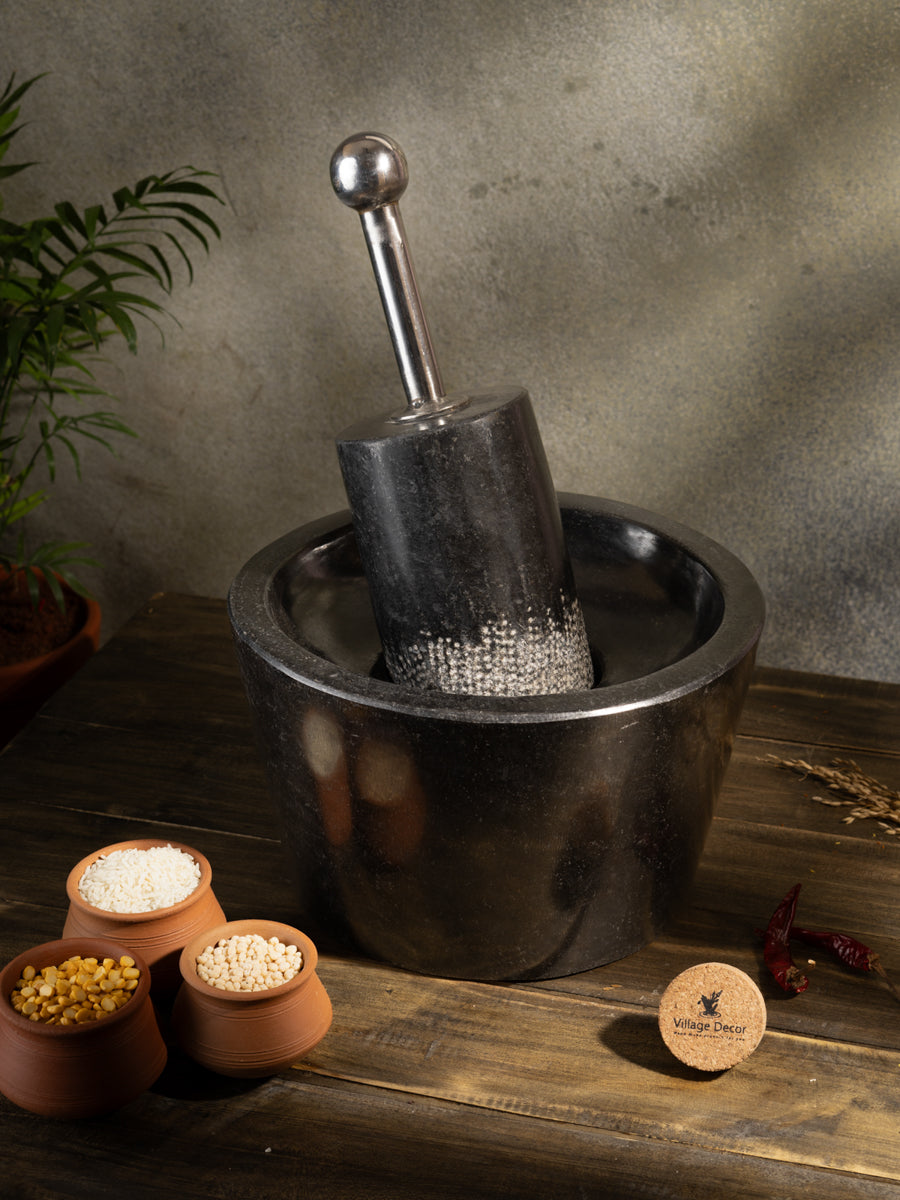
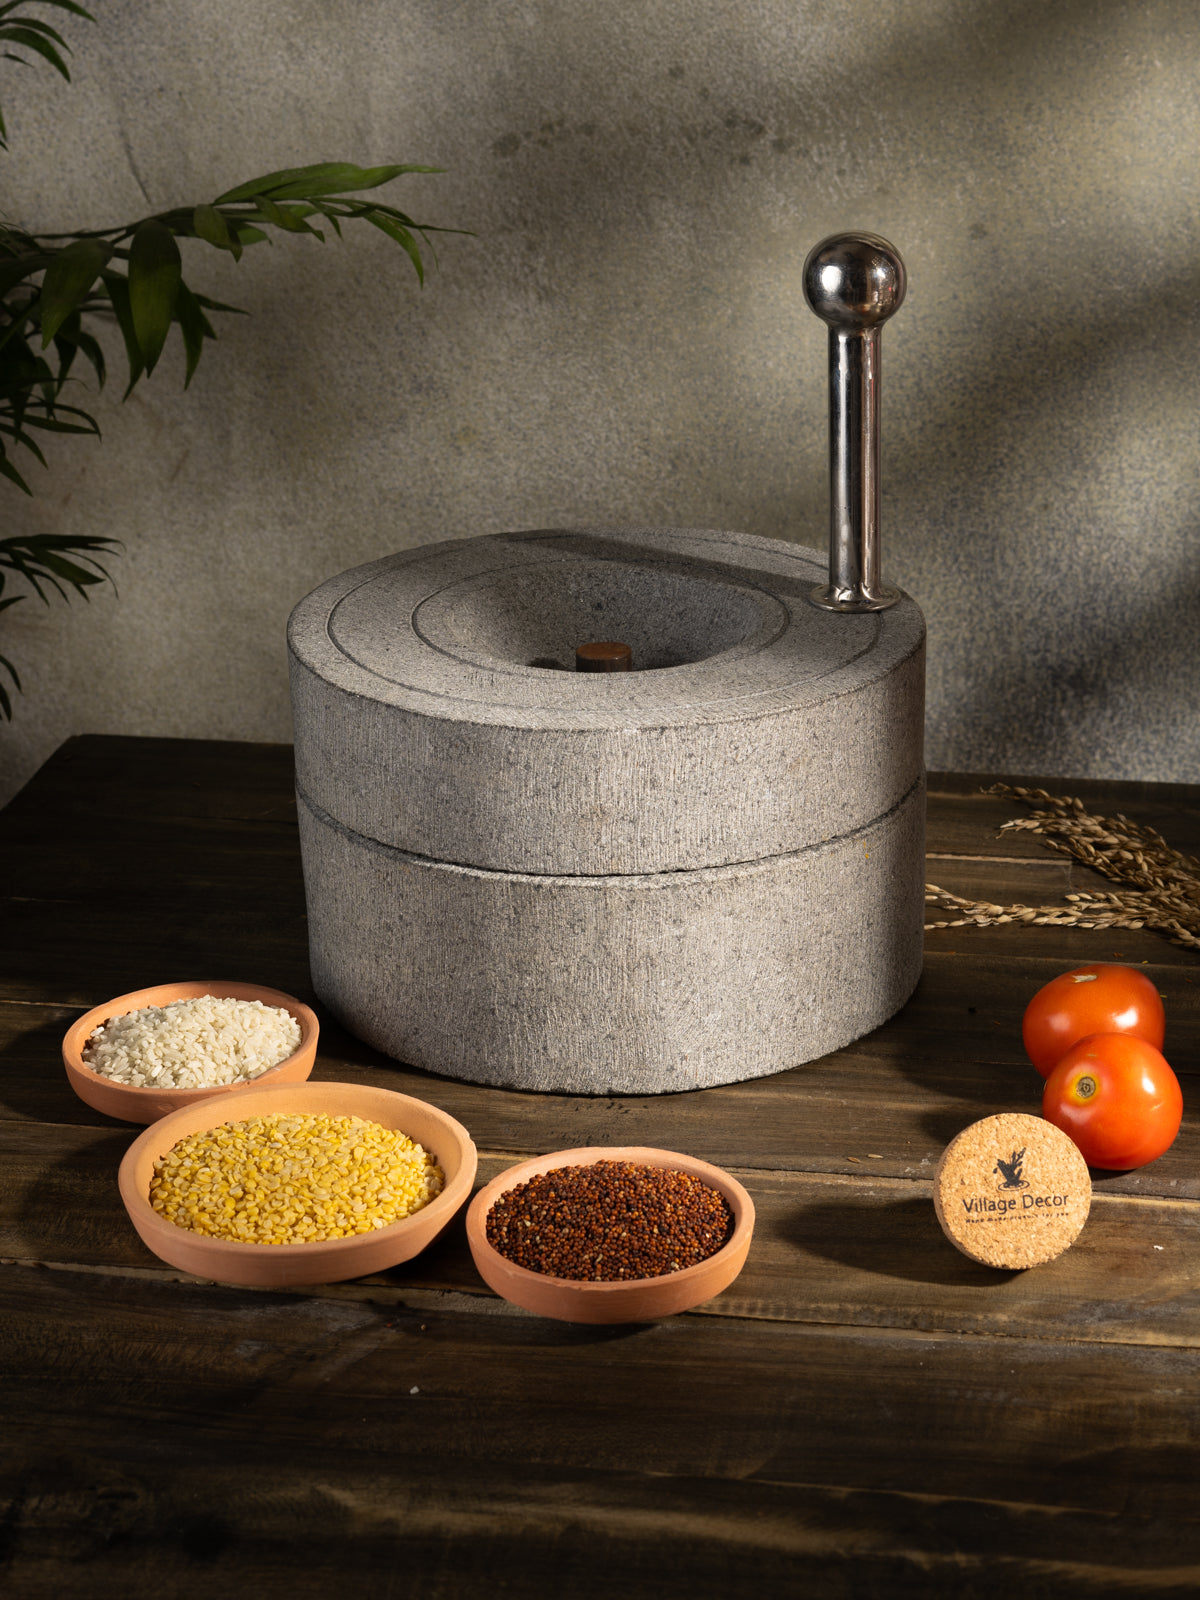

Before using your Ammikal for daily tasks, it requires a simple preparation process called seasoning. This step smooths out the stone, removing any accumulated dust and excess particles, and prepares it for efficient grinding. In this blog, we will guide you through the easy steps to season your Ammikal.
Why is seasoning important?
Seasoning is a crucial step in preparing for effective and efficient use. Here's why:
- Prevents stone dust
- Prepares a clean surface for grinding
- Enhances grinding efficiency
- Extends the lifespan of your Ammikal
Here are the 9 simple steps for the Seasoning Process:

STEP 1: Wash and scrub with coconut fiber
First, wash the Mortar and pestle of the Ammikal with water to remove any residue from its surface. Then, use coconut fiber to scrub, which effectively cleans and maintains its surface without causing any damage.
STEP 2: Dry It Thoroughly
After washing, dry it completely, either by placing it in direct sunlight for 5 to 10 minutes or wiping it with a dry cloth. This ensures a clean, moisture-free surface for the seasoning process.
STEP 3. Use a mat and a towel
Now, place it on a mat or towel to prevent it from shaking or moving around during the grinding process. This will help keep stable and ensure a smoother Performance.
Before moving to the next step, you need to understand the two methods of grinding that will be used in the upcoming steps and their purposes:
- DRY GRINDING Dry grinding helps to remove dust particles from the surface of the mortar and pestle area.
- WET GRINDING Wet grinding helps to remove any dust particles from inside the pores of both the mortar and pestle areas.
STEP 4. Dry Grinding
Now, place the handful of raw rice in the center of the mortar. And then start grinding the raw rice using the pestle in a circular motion(Front to back). Continue grinding until the raw rice transforms into a fine powder. Ensure that you cover the entire mortar and pestle area evenly, distributing the powder uniformly.
STEP 5. Wipe off the Powder
Wipe off the powder gently using your hand. You'll notice the dust is removed along with the powder. This ensures that the dust from the surface of the mortar and pestle is removed.
STEP 6. Wet Grinding
Again, place a handful of raw rice in the center of the mortar. Add water little by little while grinding. Use the pestle to grind the rice in a circular motion(Front to back). Keep grinding until the rice turns into a fine paste. Make sure to cover the entire surface of the mortar and pestle evenly.
STEP 7. Wipe off the paste
Wipe off the raw rice paste using your hand. The color change of the raw rice paste confirms that the dust in the pores of the Ammikal has been removed.
STEP 8. Clean and dry again
Finally, clean and dry thoroughly to remove any remaining residue and moisture.
STEP 9: Check and Repeat
If you still see dust, repeat Steps 4 to 8 until the rice powder or paste is clear and dust-free. This ensures the Ammikal is clean and ready to use.
Do you want to see the seasoning process in action?
Tips and Reminders:
- Use raw rice for seasoning
- Repeat the above 9 steps one more time if dust is still present
- Store your Ammikal in a dry place to prevent moisture damage
By following these simple steps, you'll be able to enjoy your traditional Ammikal for years to come. Happy grinding.
Leave a comment
This site is protected by hCaptcha and the hCaptcha Privacy Policy and Terms of Service apply.